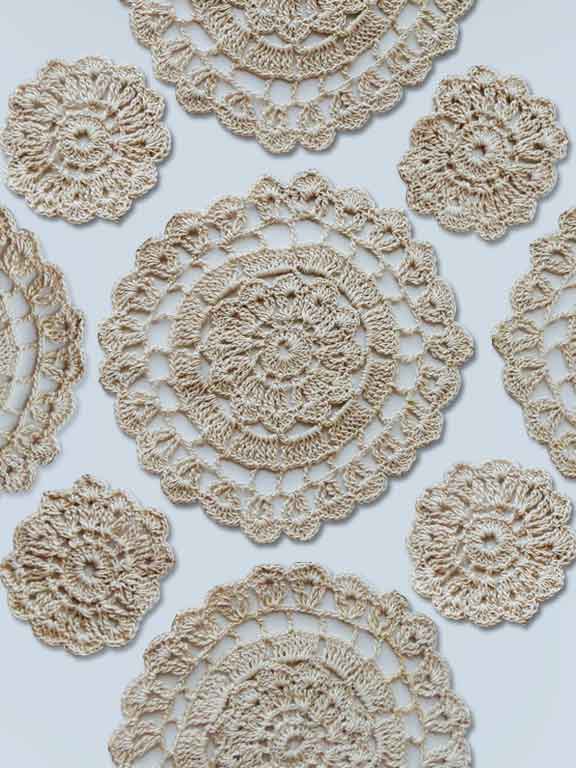
Doilies had a moment. Back in the day they seemingly adorned every furniture surface and even rested on the backs of chairs and sofas.
Today you’ll most likely see them in flea markets and second-hand stores. But these crocheted little wonders deserve another look. I took this $2 Value Village find and remixed it into a funky boho doily then reinstated it to its rightful place.
Materials
• crocheted doily
• acrylic paints
• paper towels or old rags
• container (for mixing paint and dyeing doilies)
• seam ripper or fine point scissors
• needle and thread (different colour thread to match)
Step 1. Carefully separate doily pods using a seam ripper or scissors.

Step 2. Plan your colour scheme and layout. Try a layout that’s asymmetrical. Tip: To remember your desired layout before dying, take a picture or do a sketch.
Step 3. In bowls, mix 1 part water to equal parts paint.
Step 4. Fully emerge the doily pods into the acrylic mixture. Let soak for about 20minutes. Remove and let dry on paper towels or rags. TIP: If you’d like a deeper, richer colour, allow the pod to dry then re-emerge it into the acrylic mixture. I did mine 3 times to get the colour intensity I wanted.

Step 5. Once completely dry, arrange in your desired layout and hand sew pods together.
You’re all done! Not ready to dilly-dally with doilies? Use the individual pods as coasters, in mobiles or attach as decorative trim to home decor items.
![]()


Beautiful DIY post!
Thank you @MarylinSamuel!
Interviewing is also an art form, and there are so many who do it poorly: congratulations on letting more of the world know Diana Meredith better!
Thank you Kris! I tried moving this comment to the actual post where I interview Diana Meredith but couldn’t. If you can kindly take a moment and post there that would be appreciated.
I’m in love the doilies, and your ideas are amazing! I’m crocheting one of those as soon as I grab some time for my hobbies!
Thank you Sonia!